Setting up your shop in Nexchar Point of Sale
This article assumes you have created your trial account. If you see the previous article, start your free trial Nexchar account, then return here to setup your account.
You can sign in to the back office from the Nexchar homepage by clicking the 'Sign In' link.

Enter the registered email address and password. Then click the "Sign in" button. It will take you to the "Settings" page
Setup Nexchar point of sale
You must fill in the required fields to complete your store setup.
STEP 1-GENERAL SETTINGS

- Store Name: The name of your store that will show invoice.
- Contact Email : Put your contact email
- Business Type : You have already selected when creating new account. You can change it anytime
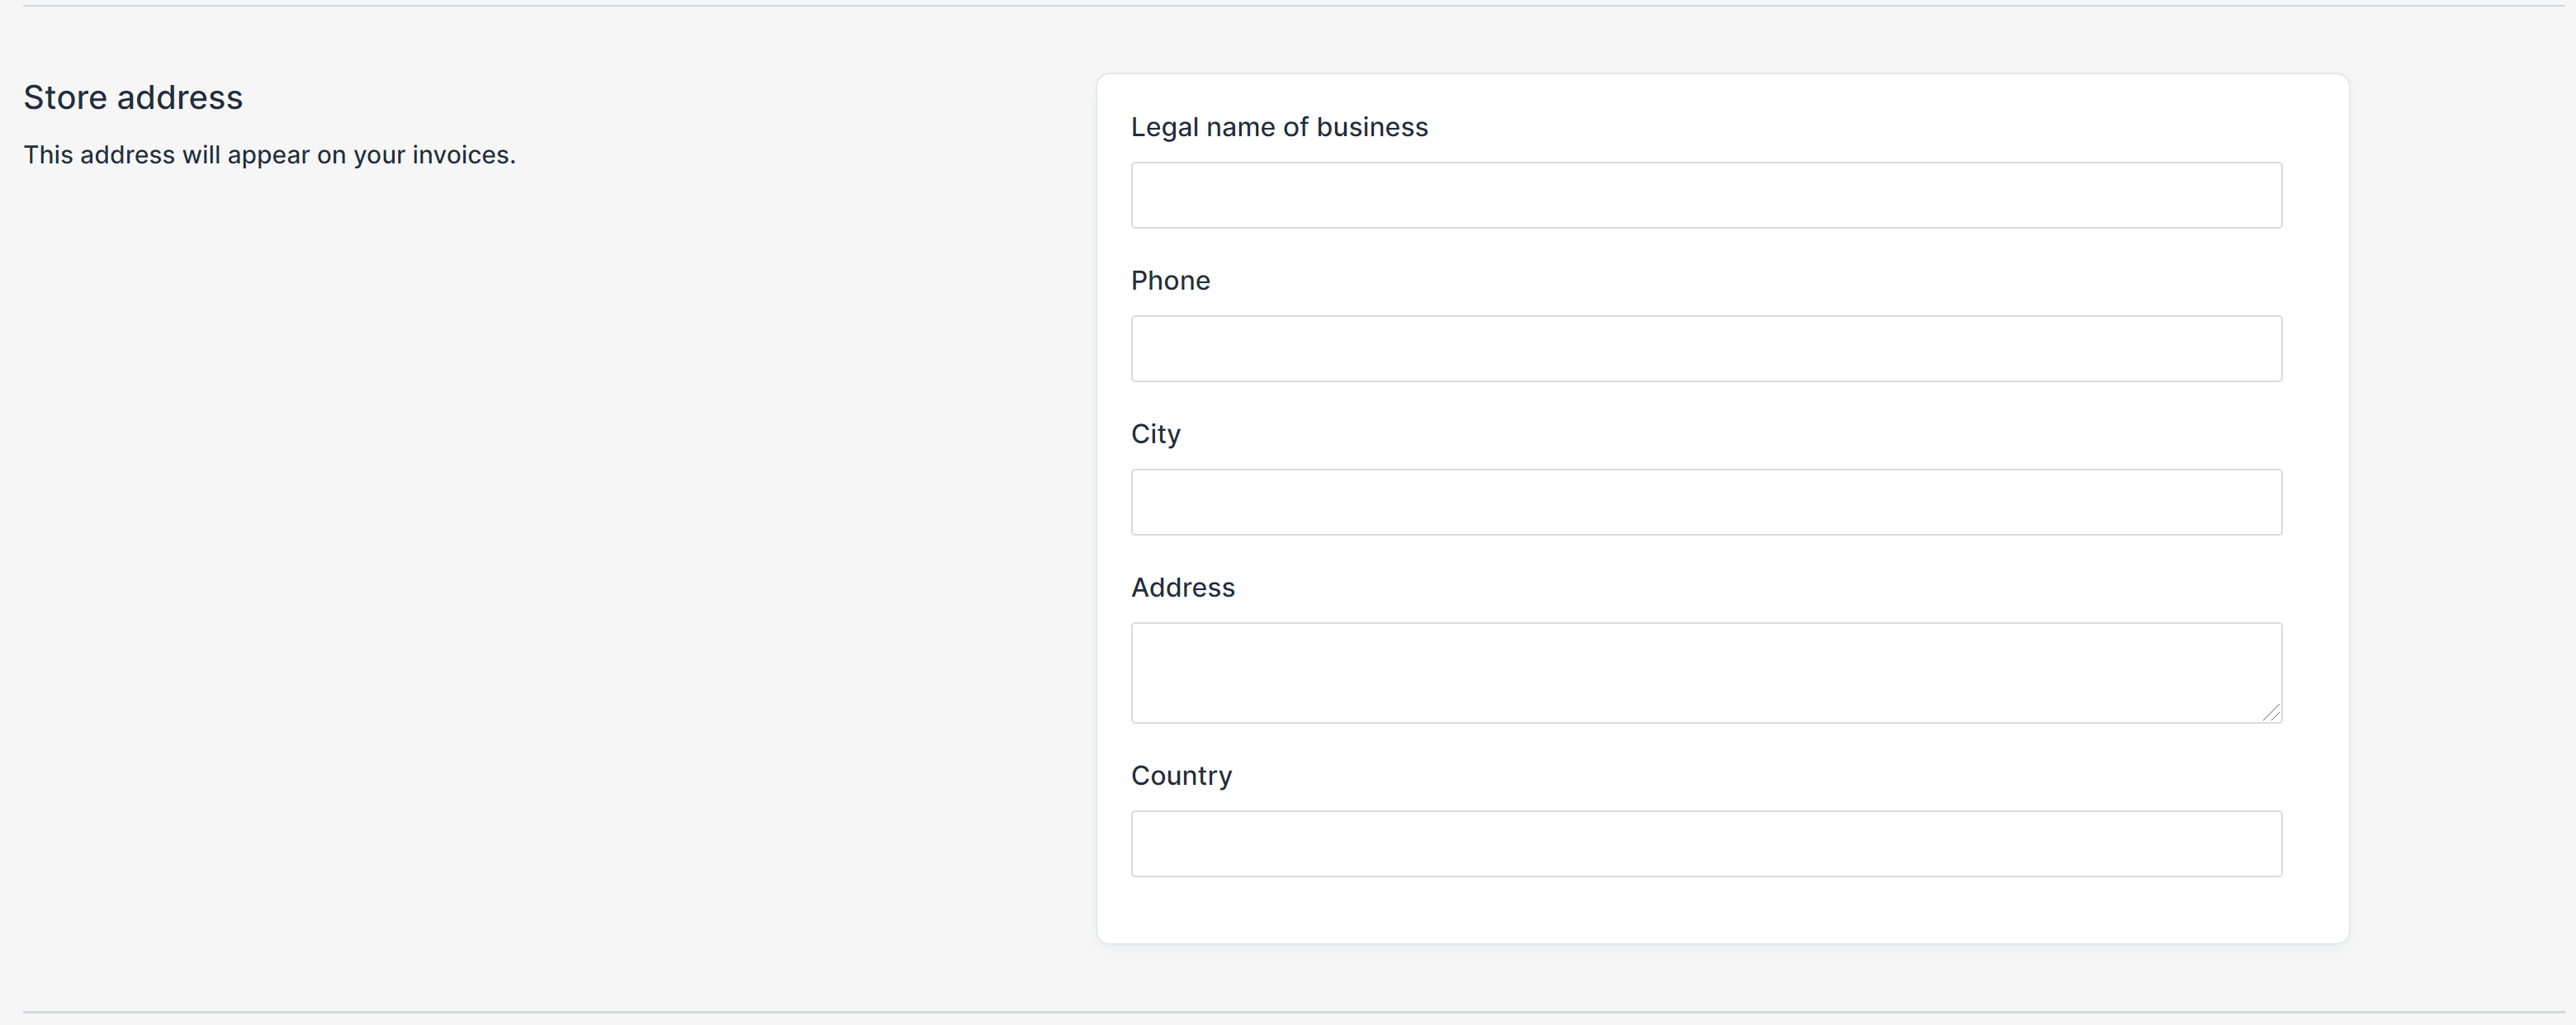
STEP 2-GENERAL ADDRESS
Setup your store address so that your customers and the Nexchar Team can contact you.
STEP 3 - SETUP TIMEZONE
These settings are very important. We will display all reports using this time zone.

STEP 4 - SETUP TAX AND CURRENCY
Setup your store global tax settings. Also setup your currency settings.
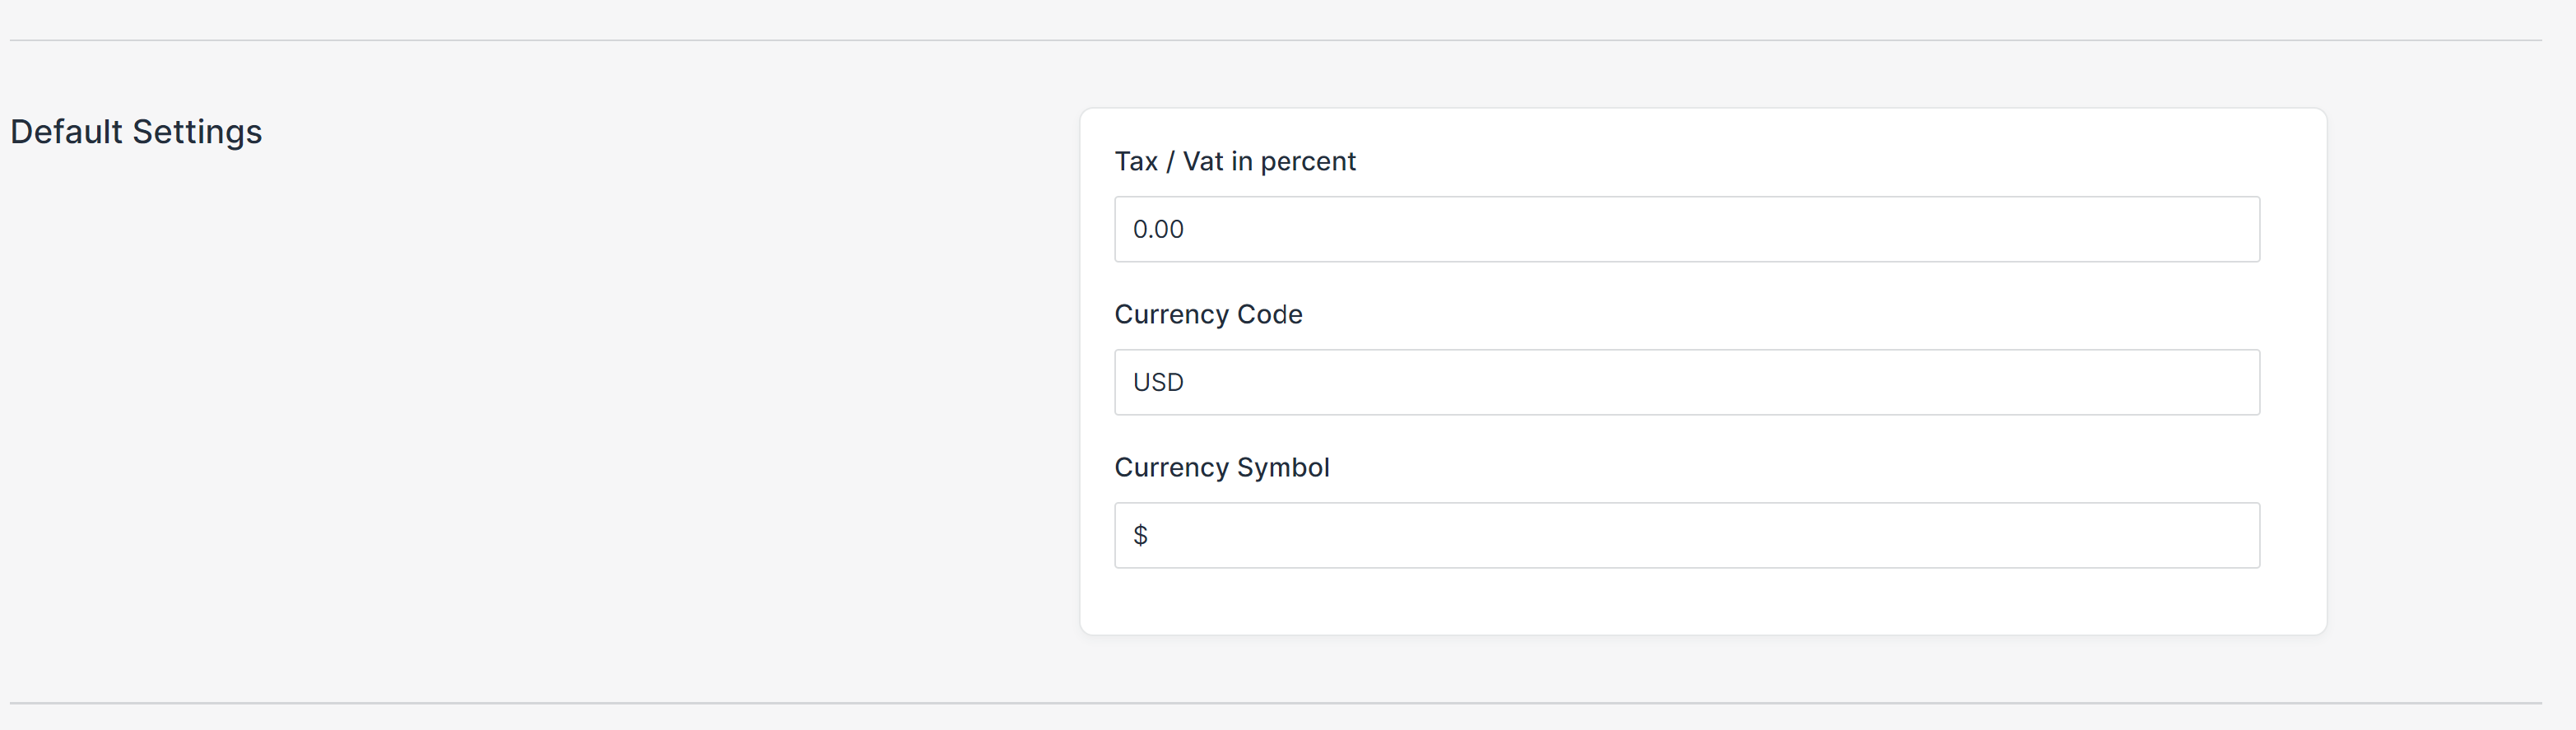
- Tax: This is the global tax setting. You can change these settings at any time.
Note: You can also set custom tax settings for an individual product, or you can set a product tax free from the product page. - Currency Code: Use your desired currency code.
- Currency Symbol: Use your desired currency symbol.
After filling all the required fields, click the "Save" button.
Start with the article Creating &Adding Products in Nexchar .