How to create a due invoice for a customer in Nexchar POS
Sometimes, customers ask to split the total of the invoice into several partial payments. Alternatively, if the customer wishes to pay later. You can create a due invoice easily in Nexchar Point of Sale.
Open, Nexchar POS app it will take to you item page.

To create a due invoice, first add items to the shopping bag. Then, on the right bottom side of the app, tap the Next button.

After tapping the Next button, it will take you to the payment page. On the payment page, you can display the total amount of your shopping bag. Change this total amount to what your customer wants to pay.

Let's say your customer wants to pay a zero amount. Put zero in the payment amount textbox. Then, tap the Next button on the right side of your app.
Note: You can put any amount less than that in your shopping cart total. You can't put an amount greater than your shopping cart total.

Now, the app takes you to the Select Customer page. You must select a customer in order to create an invoice that is due. Without selection, you can't track your due invoice.
For selecting a customer, tap your customer. Enter the customer name and phone number into the search bar to find your customer form.You can create a new customer by tapping the plus button.
Now, tap the next button to go to the next page.

It will take you to the invoice page. On the invoice page, you see your customer's complete details.

If everything is alright, tap the "complete" button to generate a competing sale. You can. To print an invoice, tap the "Complete and print" button.

Complete an order, and the app will give you a confirmation pop-up. Then, it will take you to the main selling page.
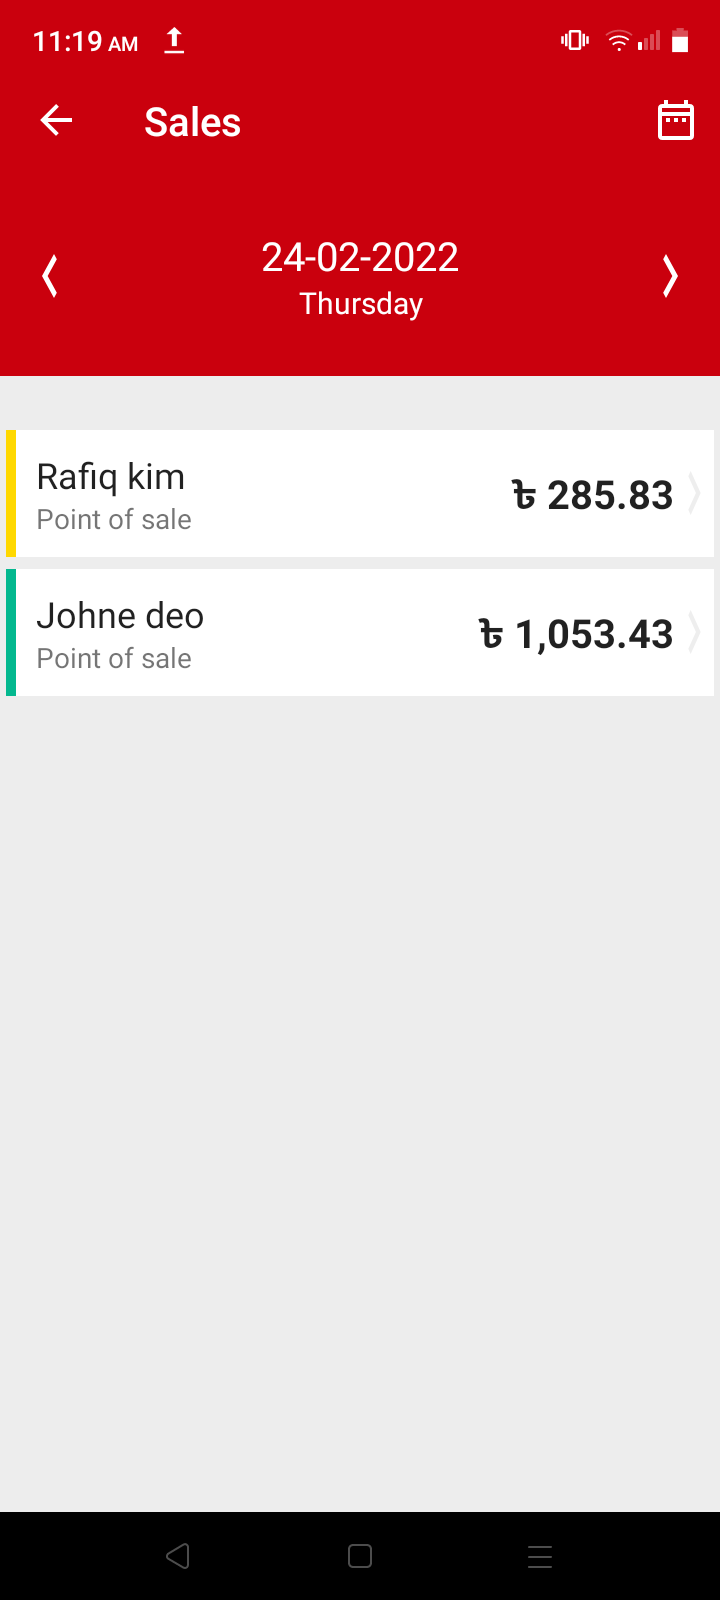
You now want to display your customer's invoice. Just tap the menu icon in the left top corner of your page. Then tap Sales. It will take you to the sales page. You can see all your customer sales.
You can see a yellow bar on the left side of your sales row. Yellow means partial or no payment.