Performing Sales in Nexchar Cloud Point of Sale
The core feature of any point-of-sale application is the ability to perform sales in-store for walk-in customers. It is the type of sale where your customer goes to the cashier with the products to pay for them.
You can perform sales from Nexchar's back office system. But we strongly recommend using our mobile apps to perform better sales.
Let's learn how to make a sale
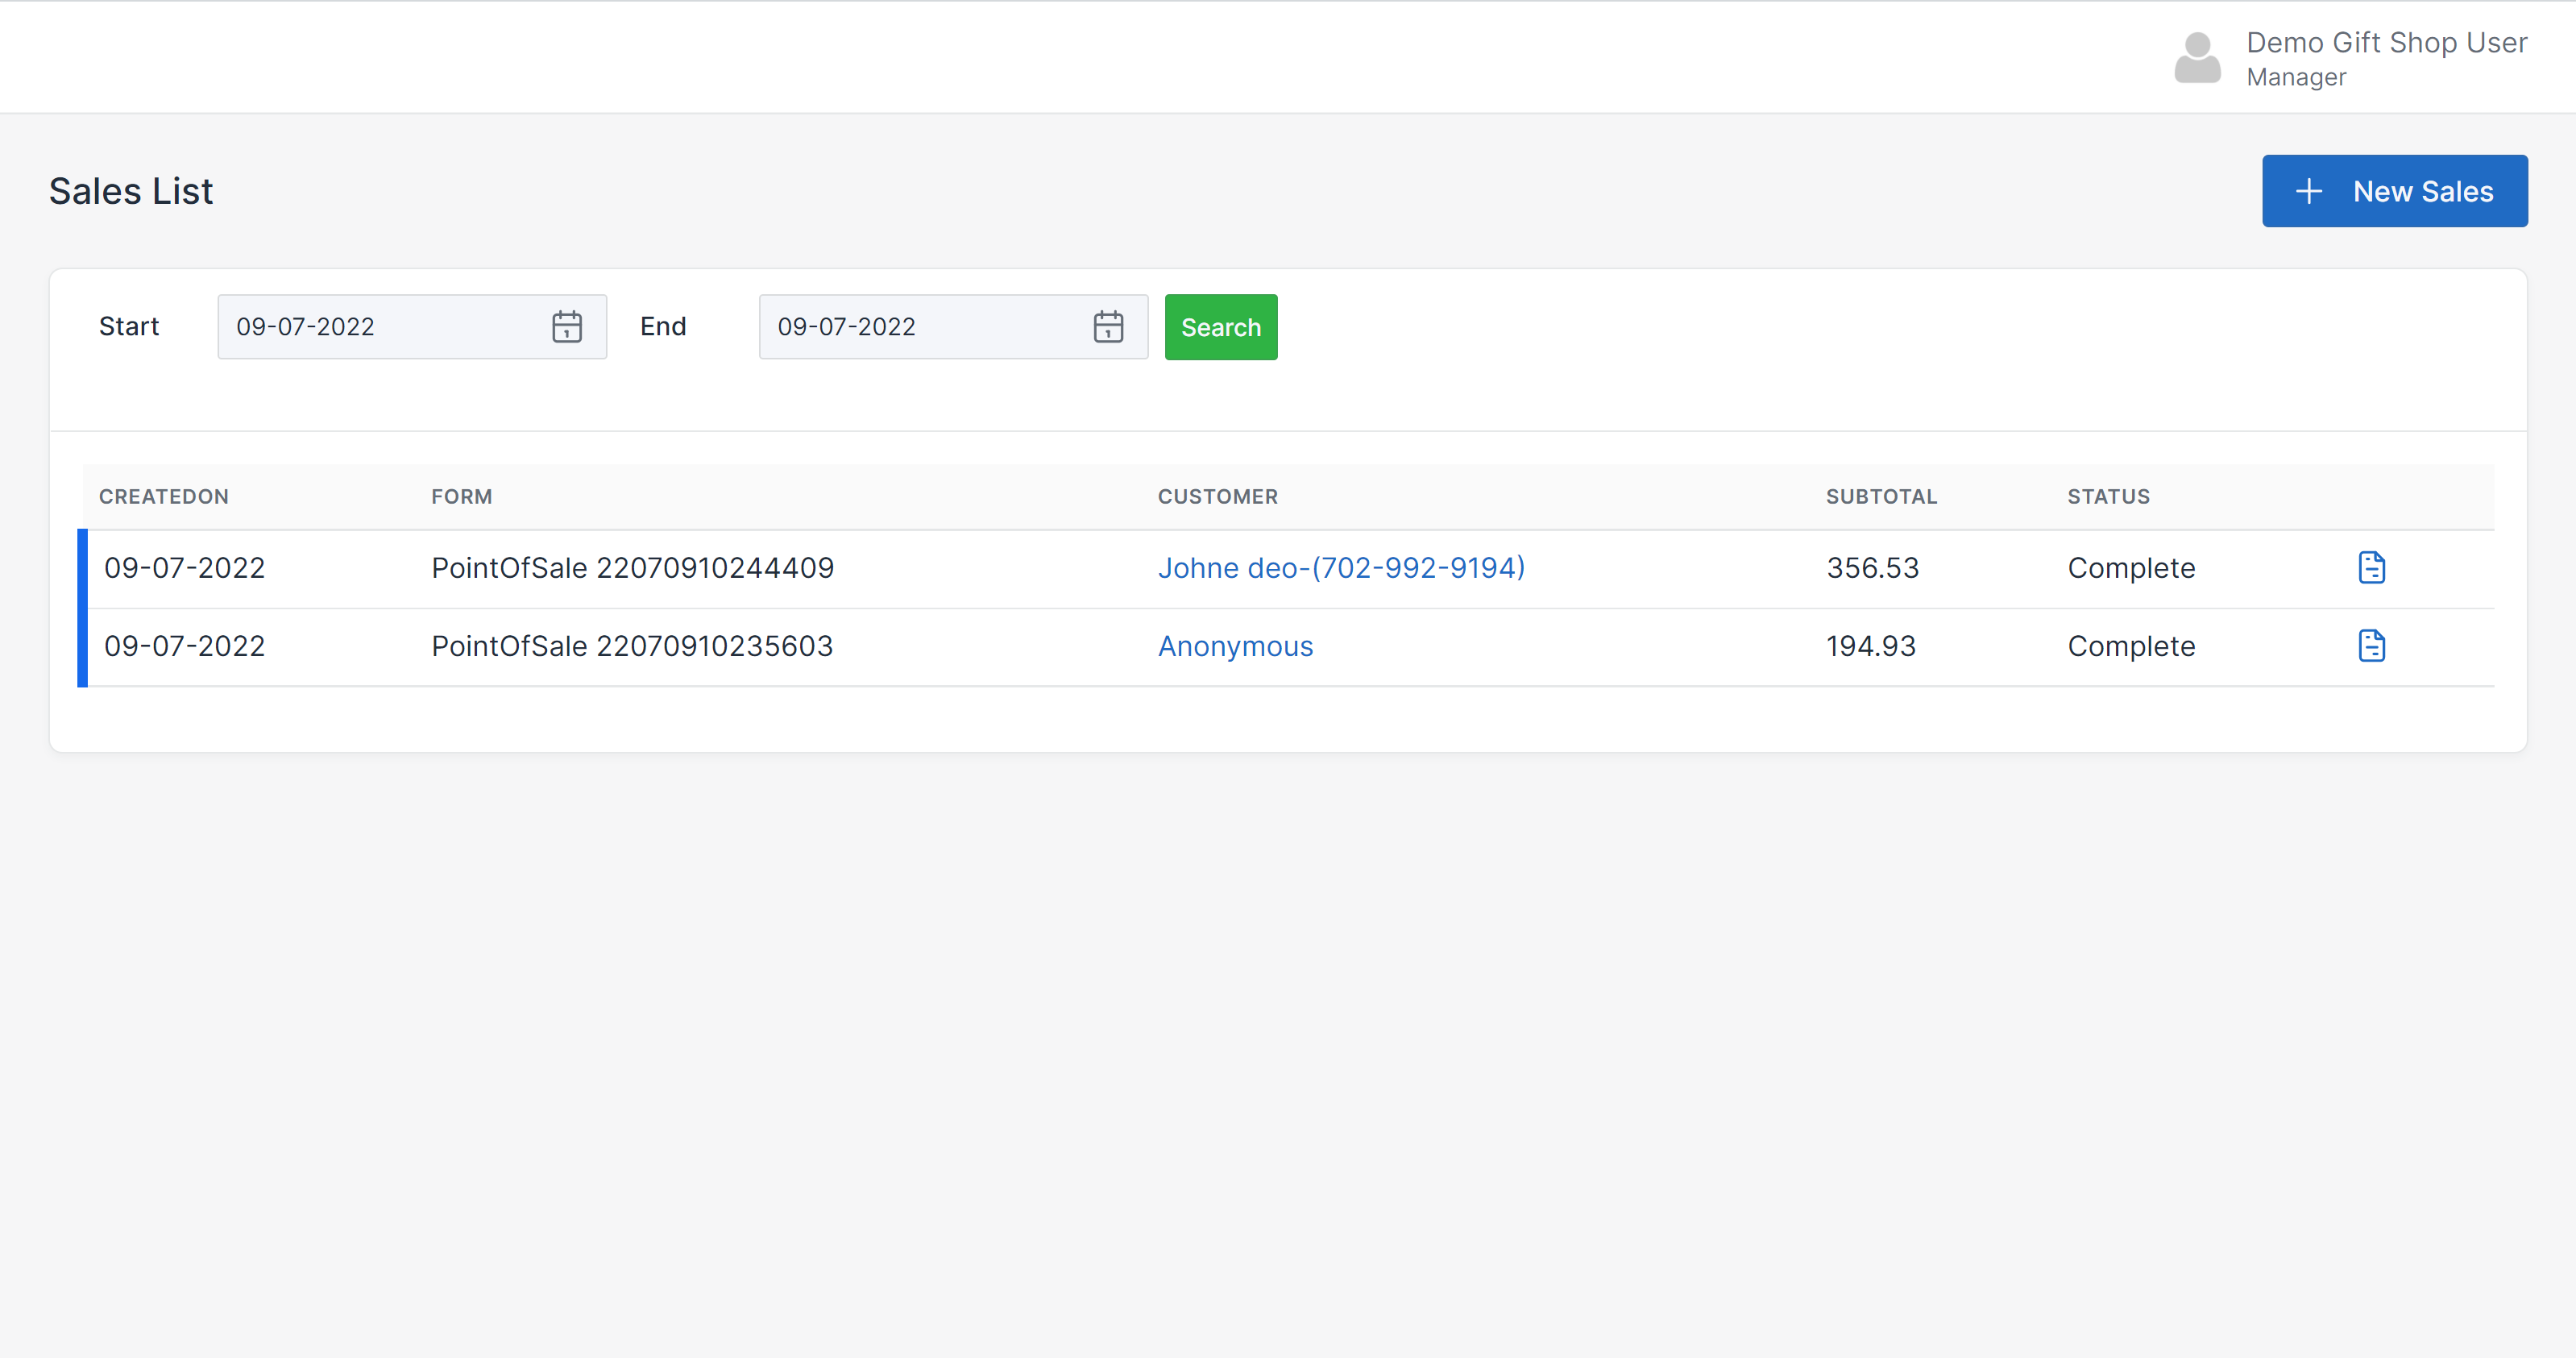
Go to Sales on your left side menu. It will take you to all the sales pages. Here you can see today's sales. Now click the New Sale button located near the top right-hand side of the screen.
You will be redirected to the New Sale page.
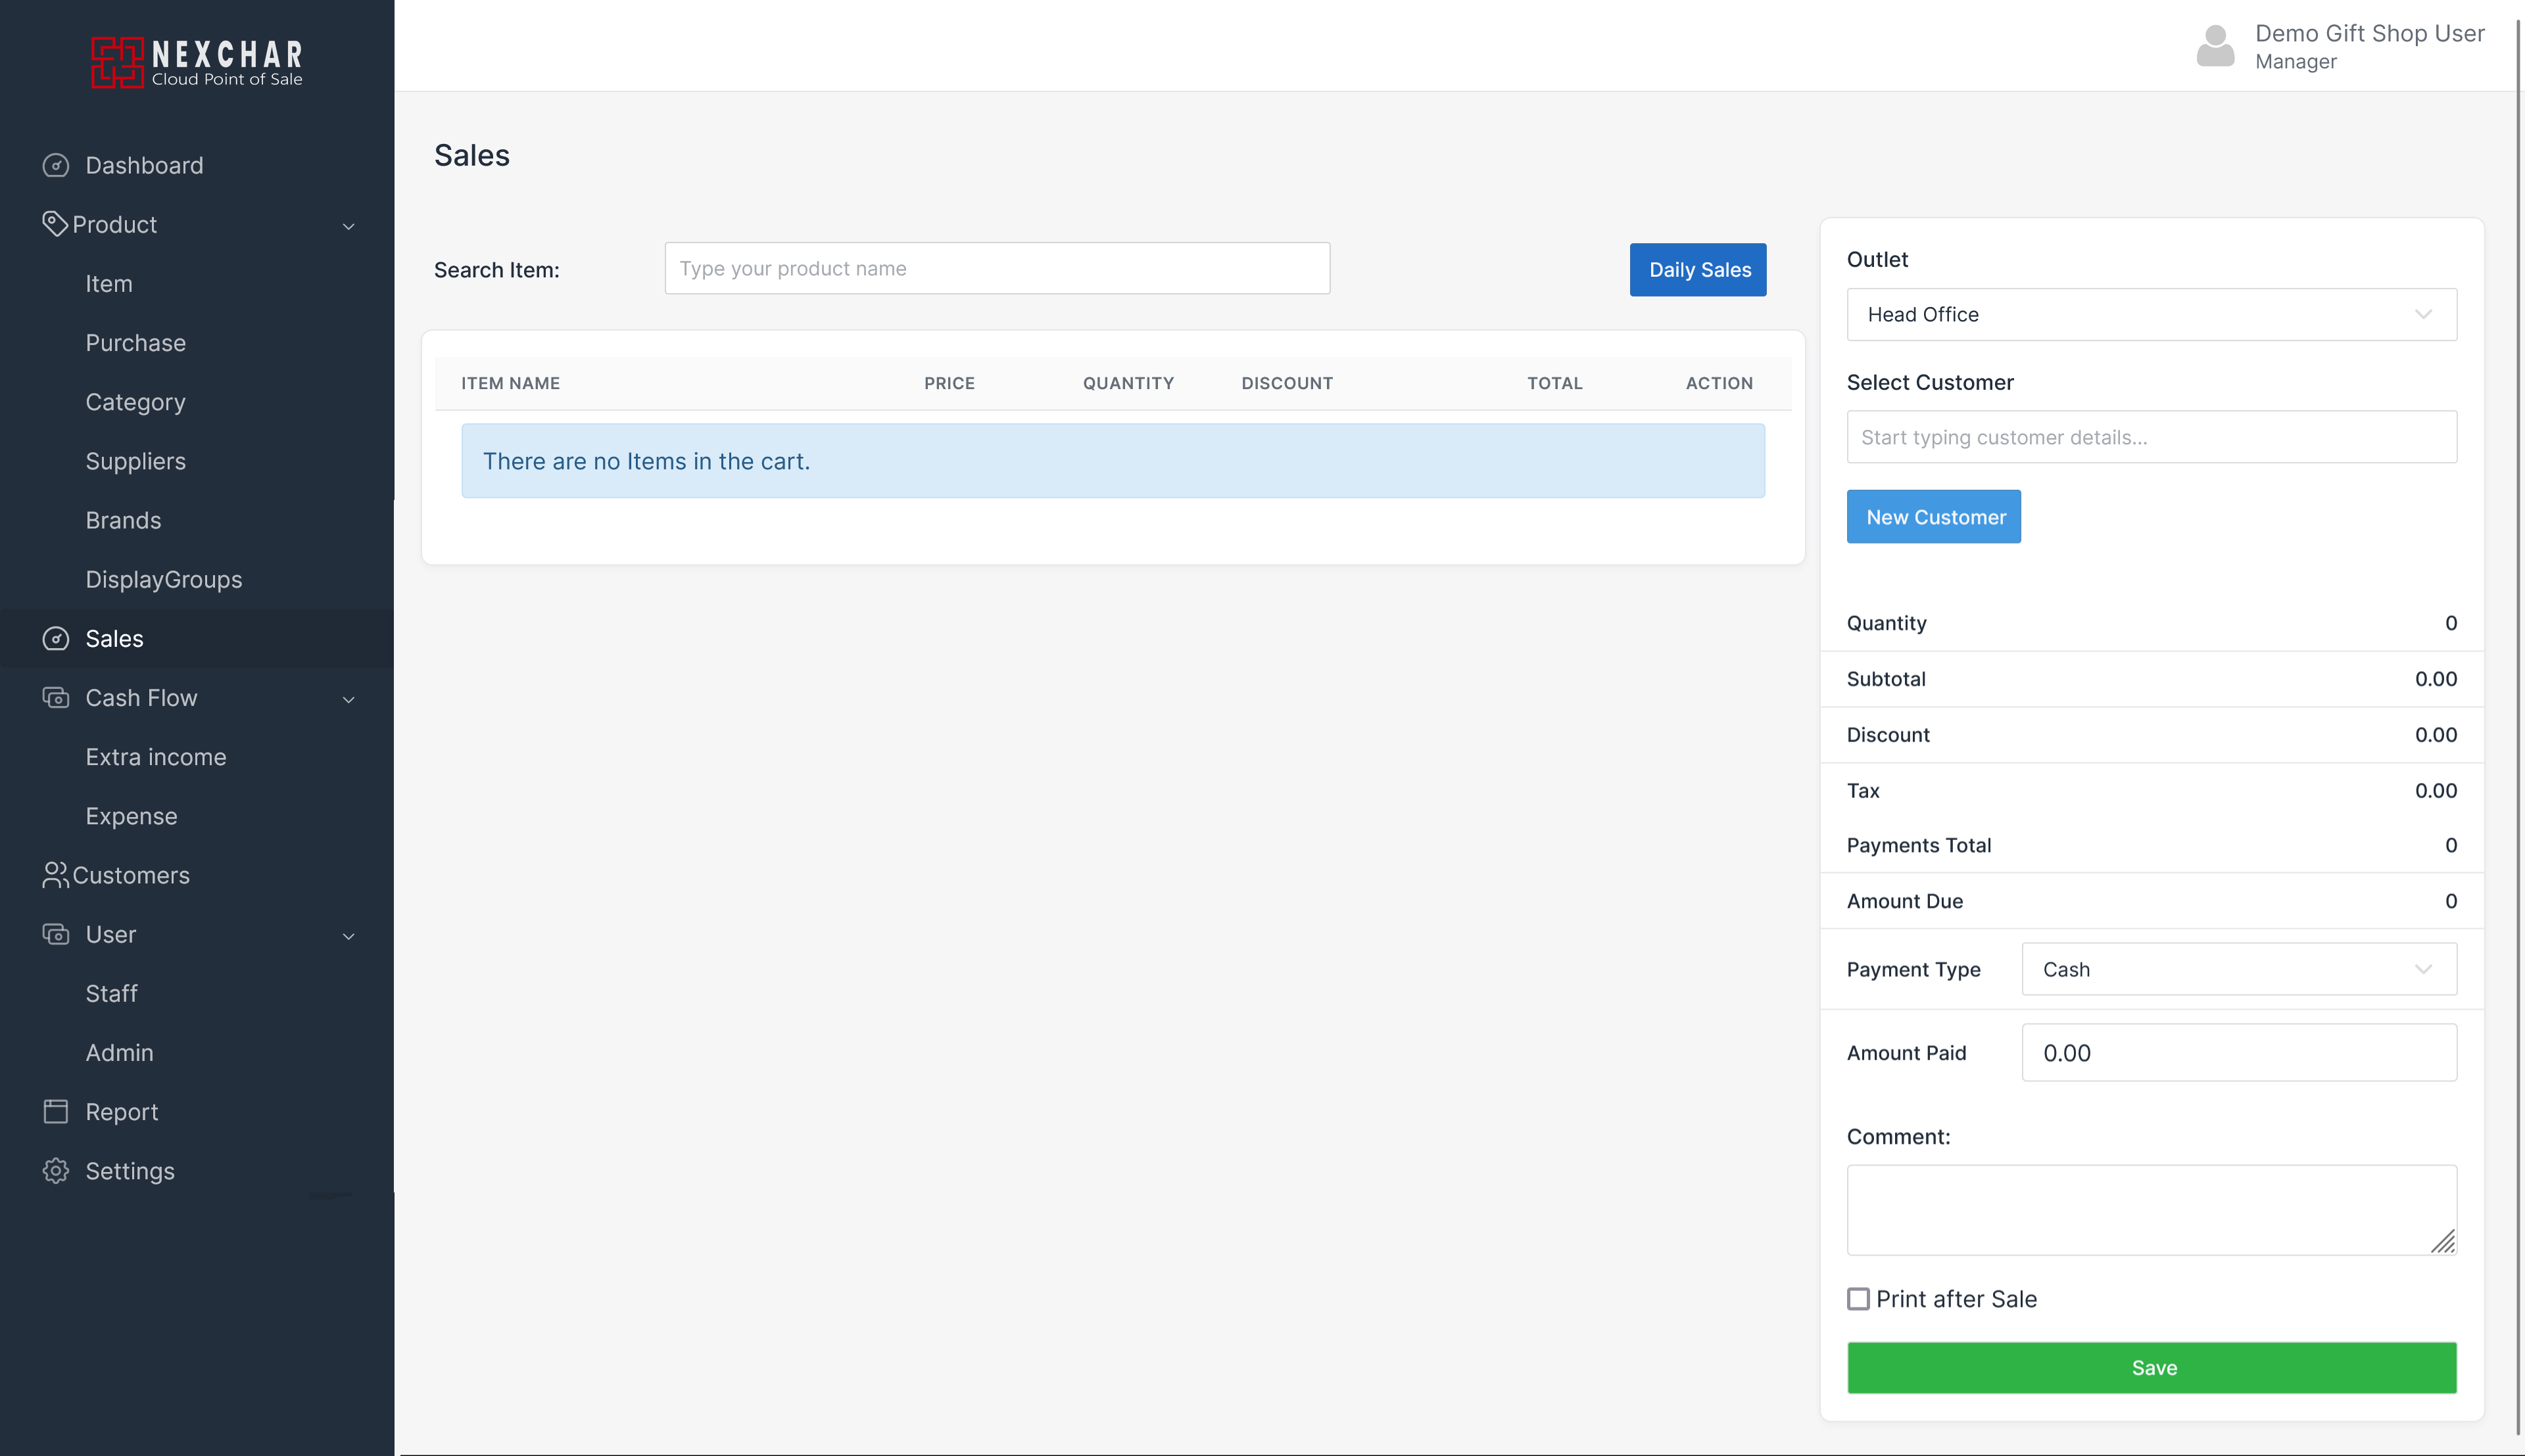
Add new item to shopping bag
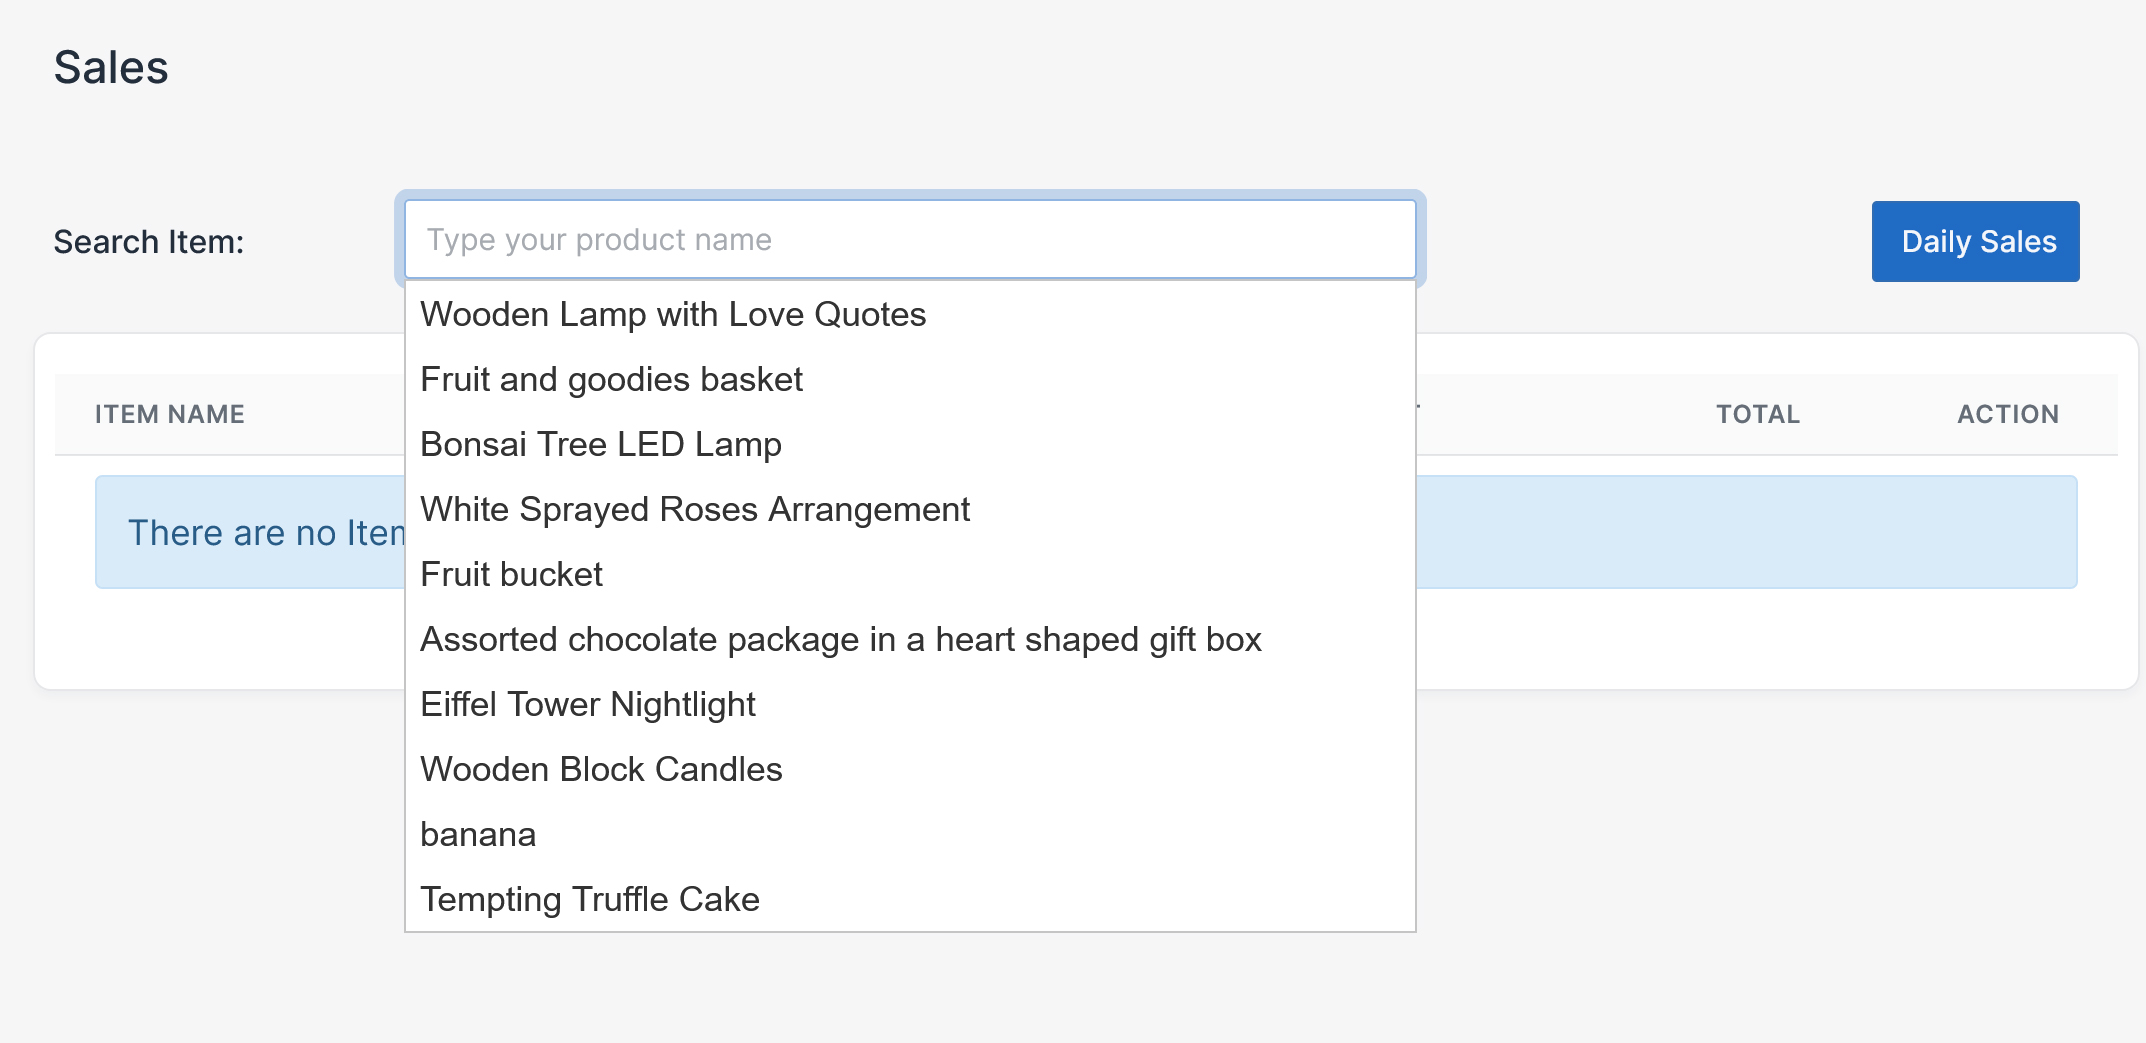
On the left side of your computer screen, there is a textbox with a Search item label. Type the product name into the search bar. You can see a list of products dropdown appear on your screen. Just click on the product you want to add to the basket.
Now, you can see the item has been added to the basket.
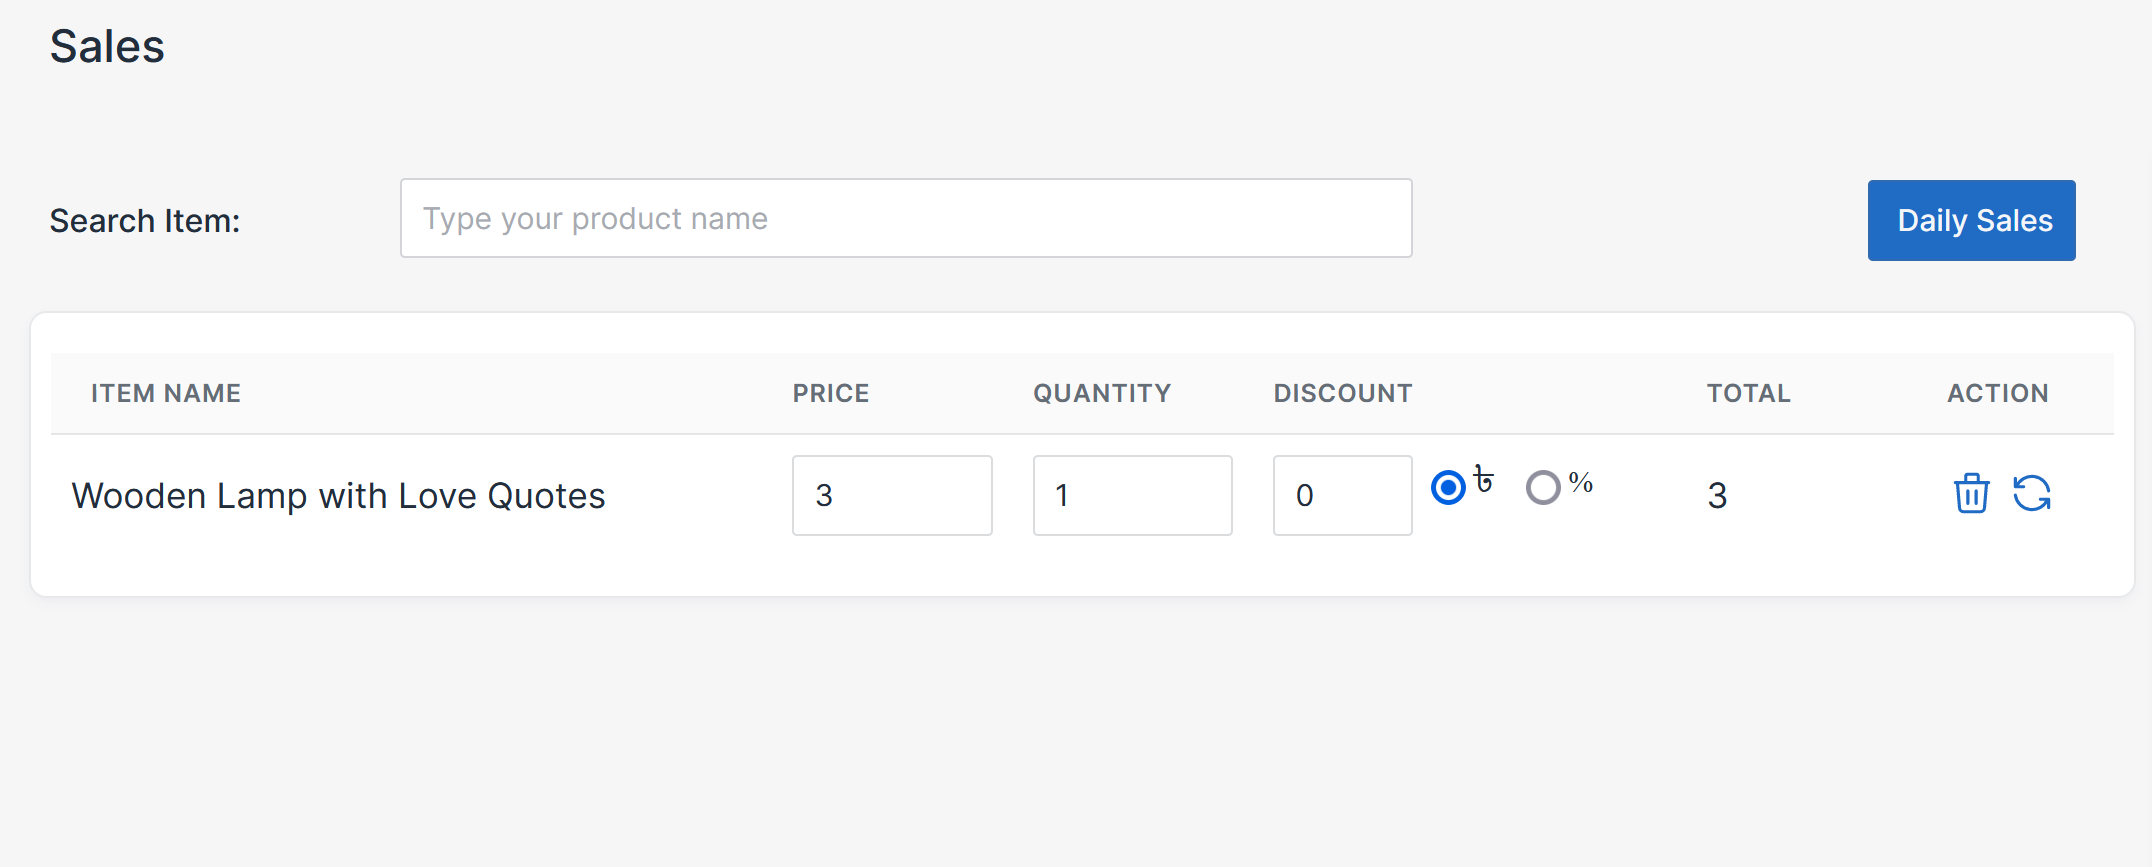
- Price: You can't change the price value from the sales page.
- Quantity: You can change the quantity to whatever you want.
- Discount: You can add a discount value to your customer's order. By default, the discount value is zero.
Note: You can remove this product by clicking the Trash icon.
Select customer
When you are creating a sale, selecting a customer is optional. You can generate a sale without selecting a customer. To select a customer, go to the right side of the New Sale page.
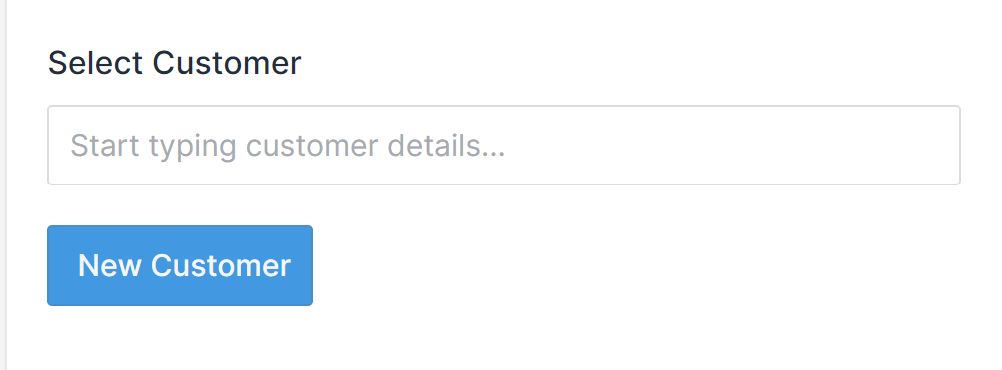
Type the first three letters of your customer's name. A dropdown appears on your screen. Click the customer's name from the list. If your customer is not available on the list, click the New customer button to add a new customer.
If everything is correct, click Save to generate an invoice.