
How to add products into Nexchar Point of Sale
This article assumes you have created your Nexchar account and successfully configured your store. If you haven't, start your free trial Nexchar account first, then return here to set up your account.
Types of products in Nexchar POS
There are two different types of products that can be added to your store:
- Standard product: A single product with a single SKU.
- Product Variants / Group Product: A group of similar products with different variations like color, size.
How to add a standard product
Creating a new product with Nexchar POS Software is easy. First, click on Item on the left sidebar of the web portal.
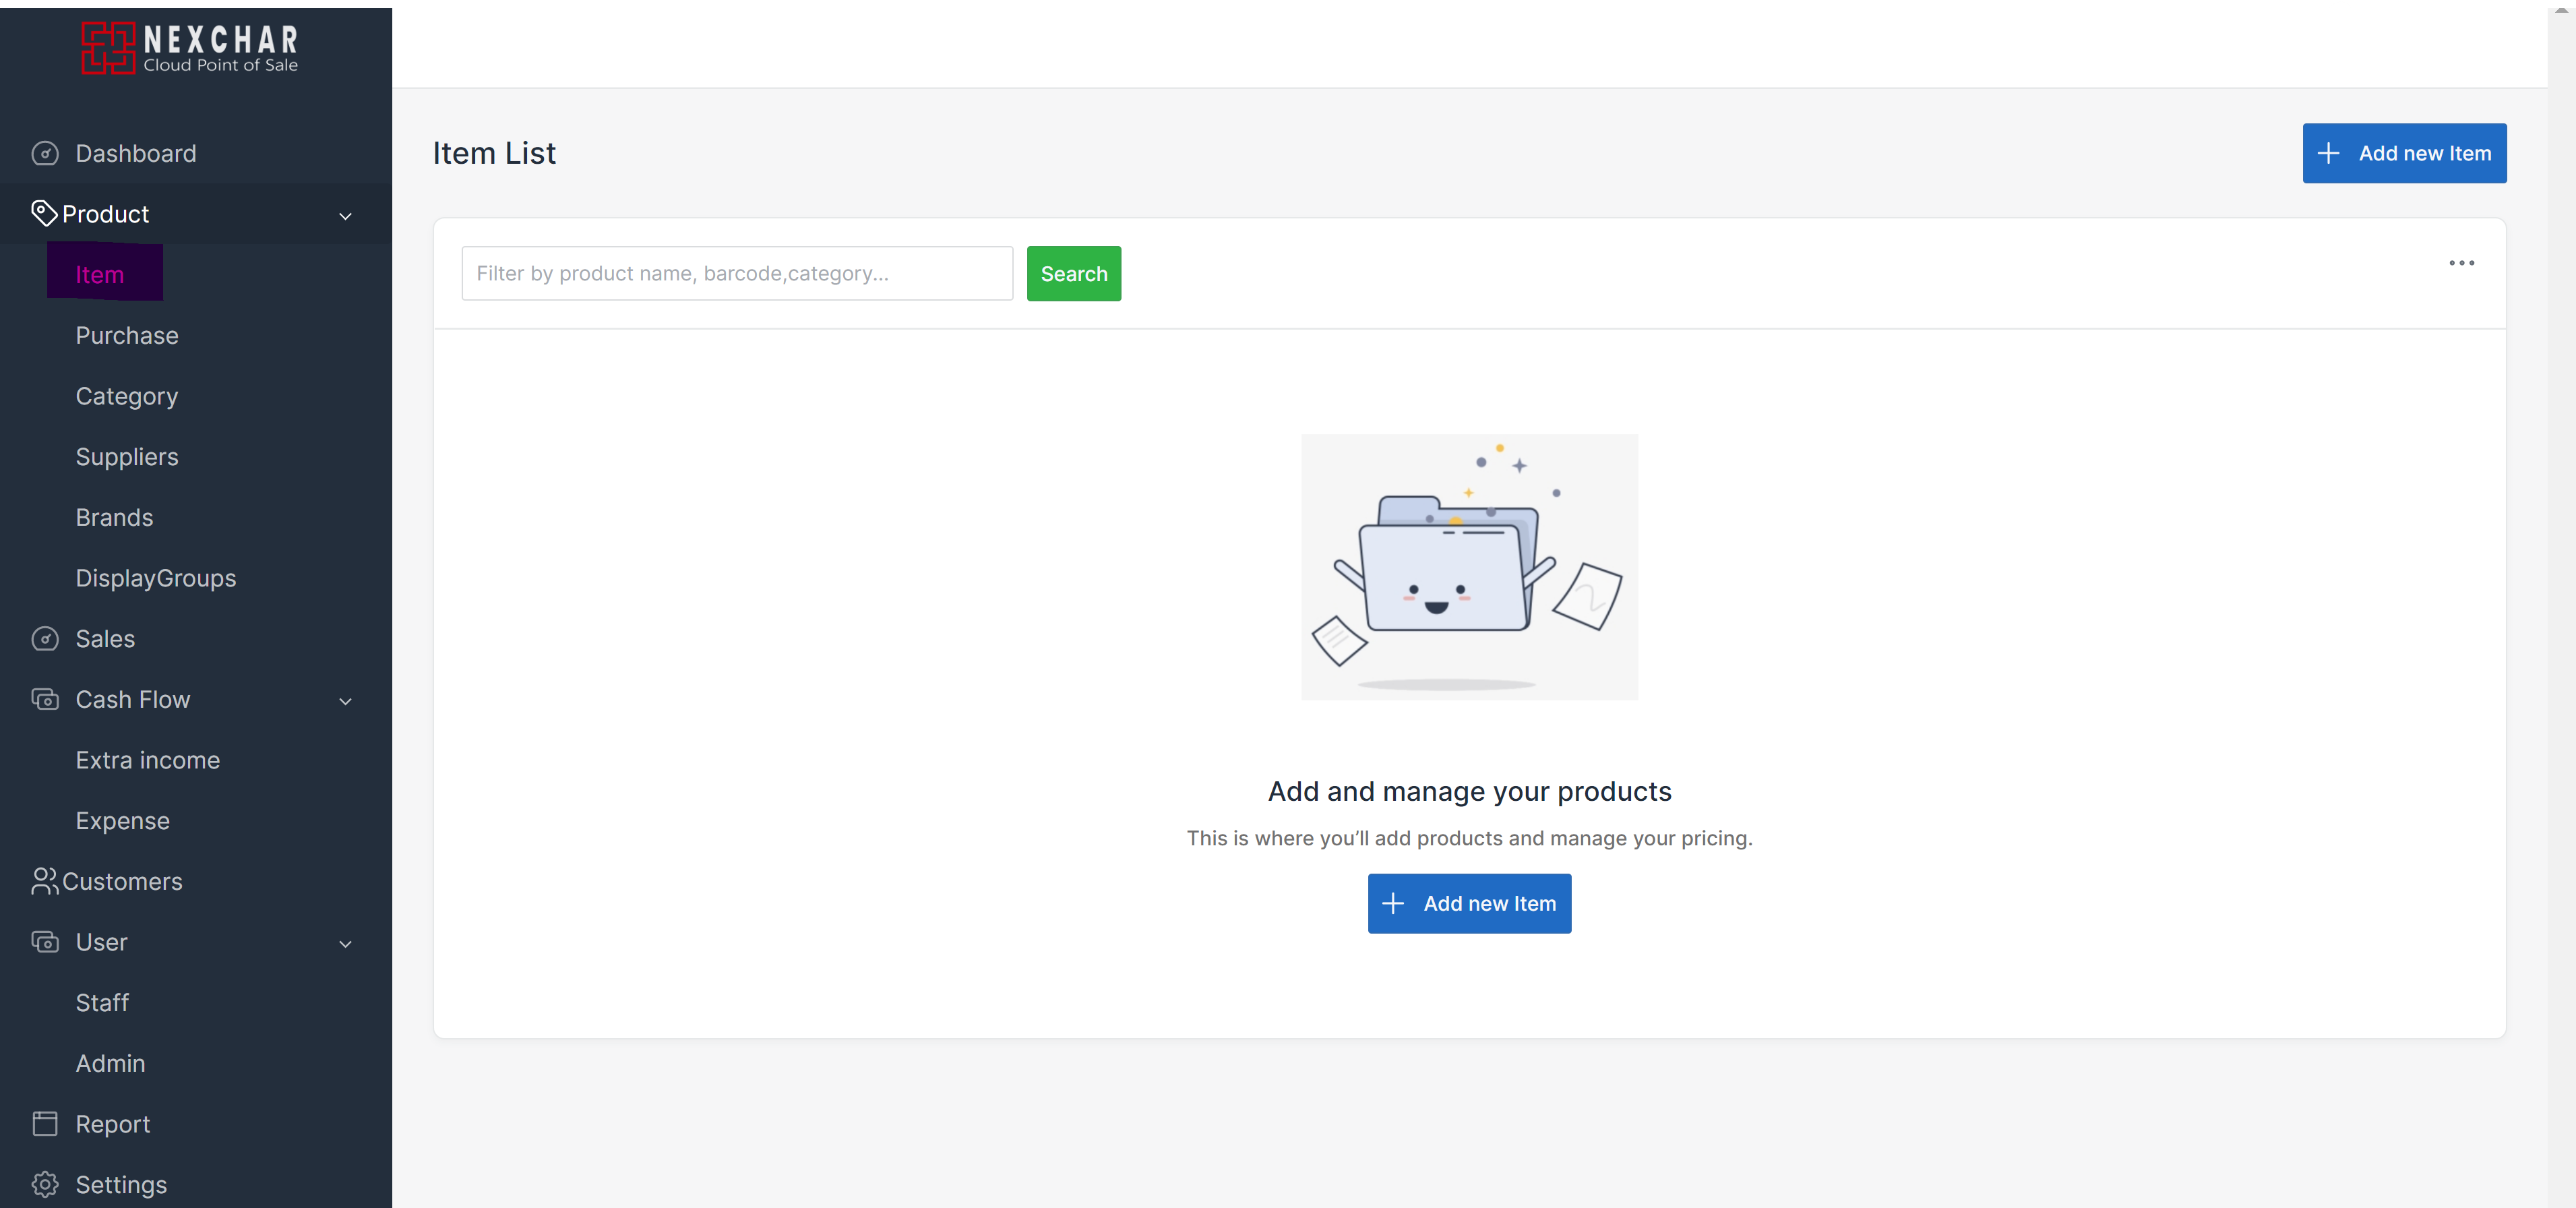
Now you are on the product page. On this page, you'll be able to add, edit, or delete items as per your requirements.
The list is empty because you haven't added any products yet. To add a new product, click the Add new item button from the right top of your computer screen.

Only a few basic product settings are mandatory when setting up a new product.
Primary Information
The Primary Information section is where you'll create the name and description of your new product.
- Item Name: Enter the name of your product. Note: This is the only mandatory field.
- Short Description: In the short description textbox, you can write a short summary of your product. This field is required when you display the product on e-commerce.
- Description: In the description textbox, you can write a detailed summary of your product. This field is required when you display the product on e-commerce.
Inventory
Track your product inventory. All fields are optional.
- SKU: A field to enter the SKU number for the product. If no SKU is entered, Nexchar will automatically create one for you.
- Barcode: A field to enter the barcode number for the product. If no Barcode is entered, Nexchar will automatically create one for you.
- Inventory: Keep track of your product's inventory. Set up the initial quantity of your product. You can update or modify your inventory anytime you want.
Pricing
Here you will adjust the pricing of your products.
- Retail Price: The selling price of your product.
- Cost per item / wholesale price: The value entered here will be the tax-free cost of your product.
- Sold By: Whether an item is sold by piece (bottle, pack, etc.) or by weight (pound, kilogram, etc.). Default value is Each.
Each: It is sold by the piece (bottle, pack, etc.).
Weight/Volume: Item sold by weight (liter, pound, kilogram, etc.).
Sales Channels
Where do you want to show this product? You can set both point of sale and e-commerce.
- Point of Sale: Tick this checkbox to make your product appear in Point of Sale apps.
- eCommerce: Tick this checkbox to have your product appear in your online store.
Default Image
Upload the default image for your product. The image file needs to be in JPG/JPEG/PNG format, with a maximum size of 1MB.
Categorize
Add product category and supplier information.
- Suppliers: This field is optional. Assign a product to the supplier from which it was purchased by adding their name into the field. If no supplier is found, just click the Add new supplier link.
- Category: This field is optional. Select a product category from this dropdown. If no category is found, click the Add new category link.
- Brand: This field is optional. Select a product brand from this dropdown. If no brand is found, click the Add new brand link.
- Loyalty Points: This field is optional. Add your product's loyalty points.
Click the Save button to store this product information in the database. Once you click the Save button, it will take you to the All Products page.